How to Connect IPTV to a Projector ?
To connect IPTV to a projector, plug a streaming device like a Fire TV Stick, Android TV Box, or Chromecast into the projector’s HDMI port, connect to your Wi-Fi network, open your IPTV app, and start streaming your channels on the big screen.
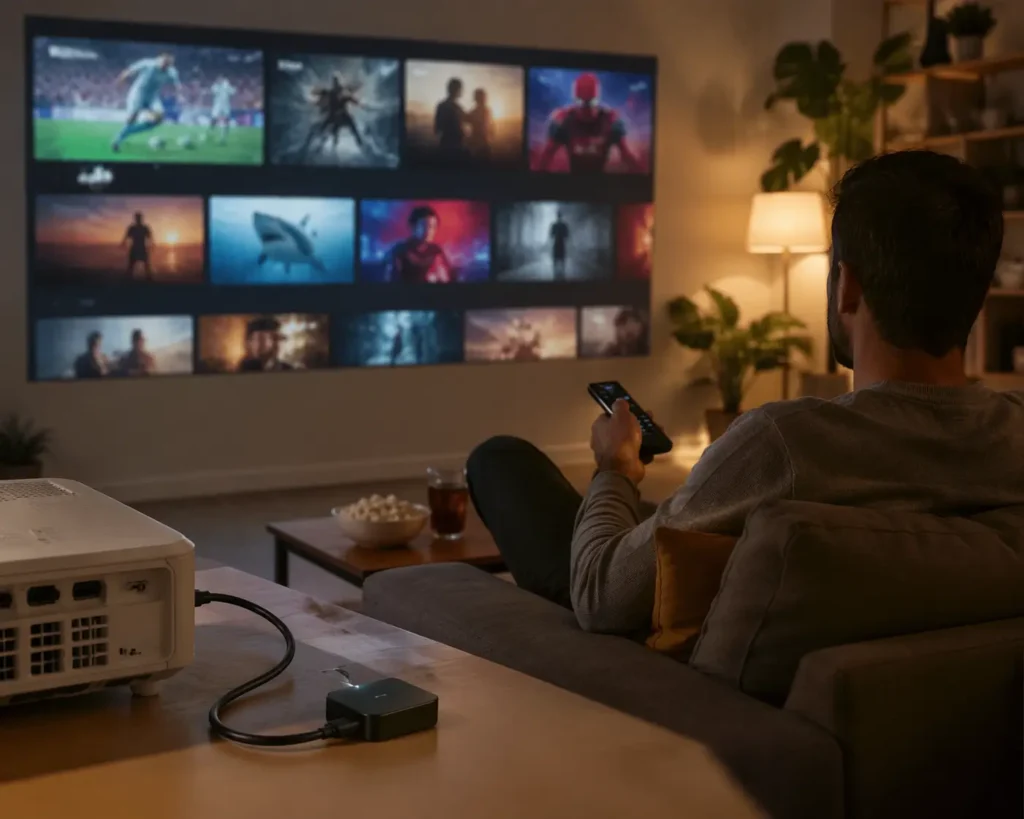
The entire setup takes less than 10 minutes and works with virtually any projector that has an HDMI input, turning any room in your house into a private home theatre.
With an IPTV subscription that gives you access to 15,000+ live channels and 60,000+ movies and series in HD and 4K, a projector becomes the ultimate way to experience sports events, movie nights, and binge-worthy series on a screen that no TV can match. Follow these five simple steps to get everything up and running.
Step 1 — Check Your Projector’s Ports and Compatibility
Before anything else, take a look at the back or side of your projector to identify what connections are available and confirm it can work with a streaming device. Here is what to check:
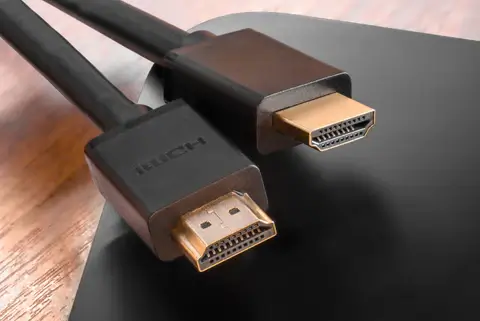
1- Look for an HDMI port : This is the most common and best option for IPTV, as it carries both video and audio through a single cable.
2- Check the HDMI version : HDMI 2.0 or higher supports 4K content, while HDMI 1.4 is limited to Full HD 1080p.
3- Note the projector’s native resolution : A 1080p projector delivers great results for IPTV, while a 4K projector gives you the sharpest image possible.
4- Check for built-in Android TV : Some newer projectors run Android TV natively, which means you can install IPTV apps directly without any external device.
5- Look for a USB port : Useful for powering a Fire TV Stick or Chromecast directly from the projector without needing a separate power outlet.
6- Check the built-in speakers : Many projectors have weak or no speakers, so plan for an external sound system if audio quality matters to you.
Step 2 — Choose the Right Streaming Device
Your projector displays the image, but you need a streaming device to run the IPTV app and deliver the content. Here is how to pick the right one:
- Fire TV Stick 4K : The most popular choice, compact and affordable, plugs directly into the HDMI port and supports all major IPTV apps.

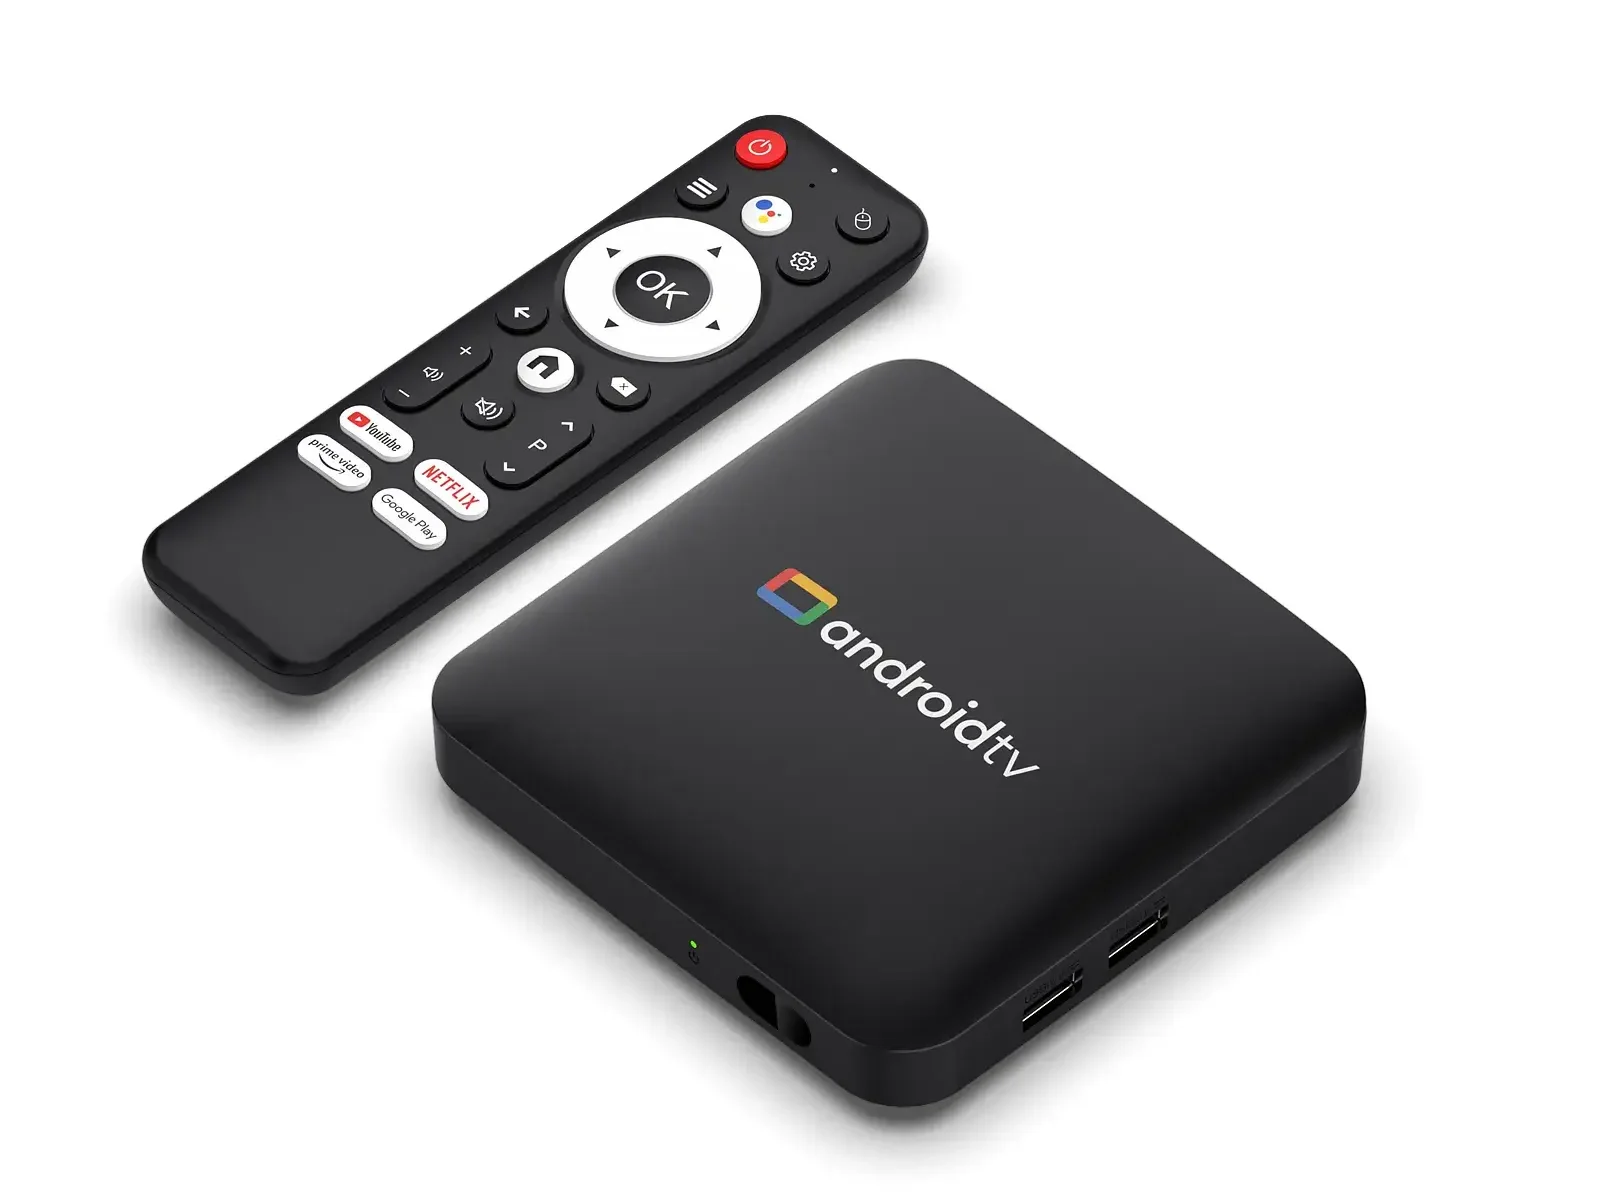
- Android TV Box : More powerful than a Fire Stick with a faster processor and more storage, ideal for heavy 4K streaming on a big screen.
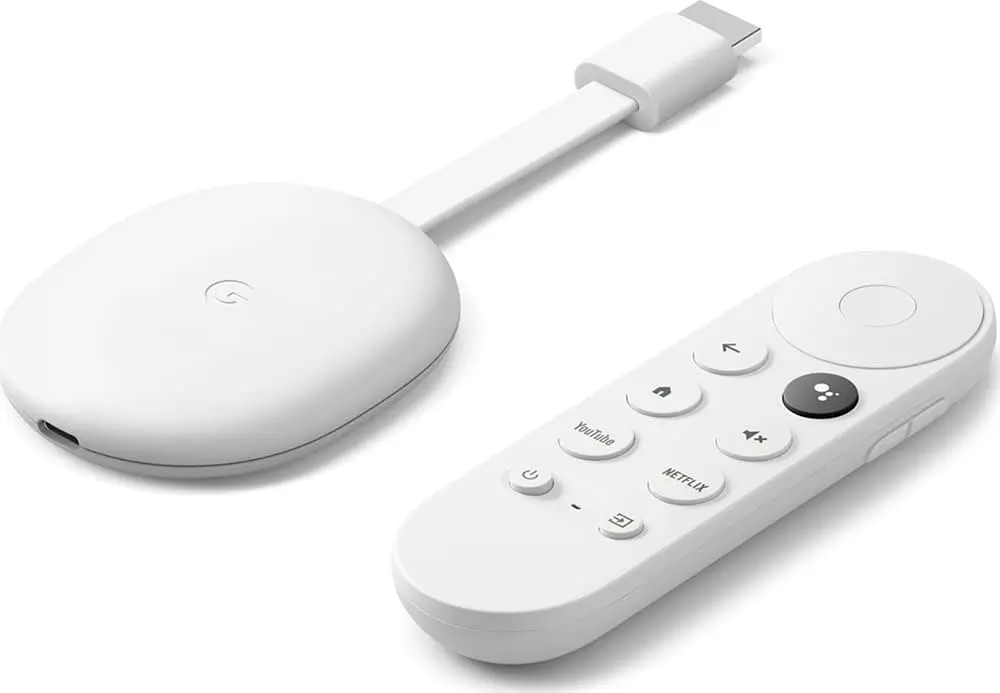
- Chromecast : Lets you cast IPTV from your phone or tablet to the projector wirelessly, great if you prefer controlling everything from your mobile.
- Laptop or PC : Connect via HDMI cable and run your IPTV app or VLC player directly, a good option if you already have a computer nearby.
- Smartphone with HDMI adapter : Use a USB-C to HDMI or Lightning to HDMI cable to mirror your phone screen to the projector instantly.
- Make sure the device is updated : Before connecting to the projector, update the operating system and IPTV app on your streaming device to avoid compatibility issues.
Step 3 — Connect the Device and Configure the Display
Now it is time to physically connect your streaming device to the projector and adjust the picture settings for the best viewing experience. Follow these steps:
Plug the device into the HDMI port : Insert your Fire TV Stick, Android Box HDMI cable, or Chromecast directly into the projector’s HDMI input.
Power the device : Connect the USB power cable to the projector’s USB port or to a nearby wall outlet using the included power adapter.
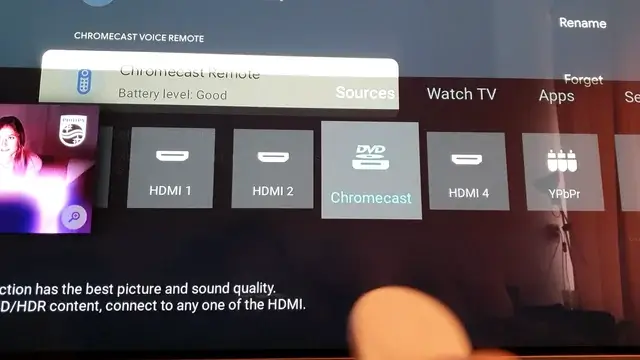
Turn on the projector and select the correct input : Use the projector remote to switch the source to the HDMI port where your device is connected.
Set the resolution on the streaming device : Go to Settings > Display and choose the resolution that matches your projector’s native resolution (1080p or 4K).
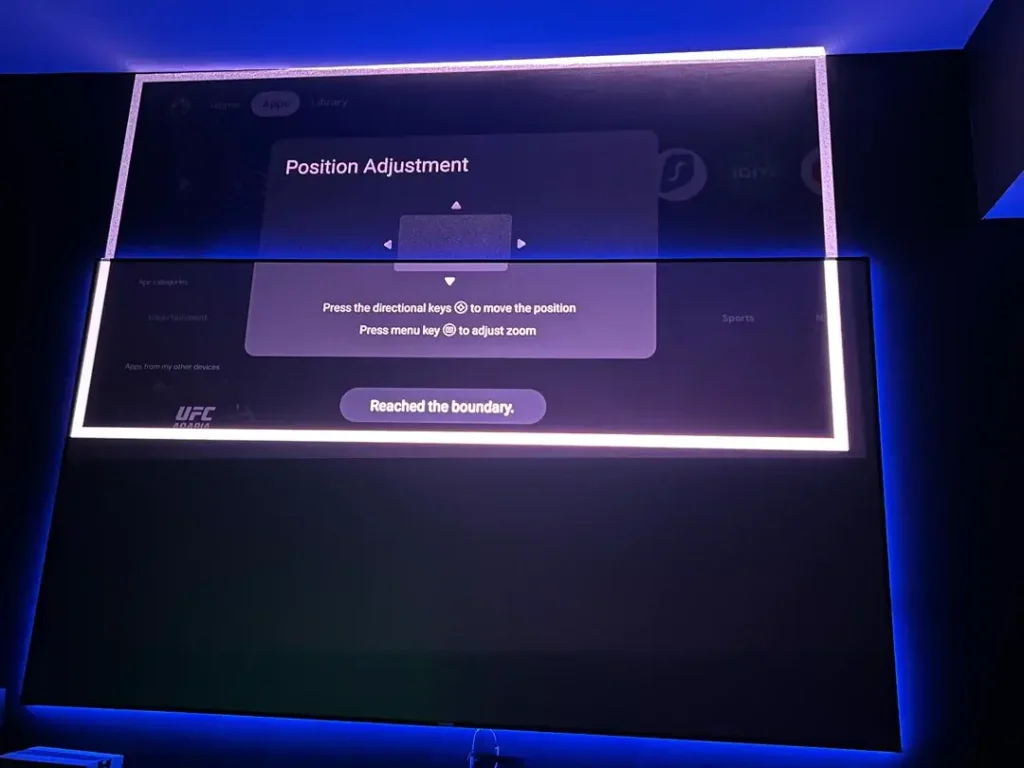
Adjust focus and screen size : Use the projector’s focus ring and zoom controls to get a sharp, well-sized image on your wall or projection screen.
Enable cinema or movie mode : Most projectors have a preset display mode that optimizes brightness, contrast, and colour accuracy for video content.
Step 4 — Connect to Internet and Launch Your IPTV App
With the hardware connected and the picture looking good, the next step is to get online and start streaming your channels. Here is what to do:
- Connect to your Wi-Fi network : Open the Settings on your streaming device, select your home Wi-Fi, and enter the password to establish the connection.
- Use Ethernet if possible : For the best streaming stability on a big screen, connect an Ethernet adapter to your Fire Stick or Android Box for a wired connection.
- Open your IPTV app : Launch IPTV Smarters, TiviMate, GSE Smart IPTV, or whatever app your provider recommends from the home screen.
- Enter your subscription credentials : Input your M3U URL or Xtream Codes (server address, username, and password) that you received from your provider.
- Wait for channels to load : The first connection may take one to two minutes while the app downloads your full channel list and EPG data.
- Test a few channels : Flip through different categories like sports, movies, and news to confirm the picture displays correctly and the audio is working on the projector.
Step 5 — Set Up Audio and Optimize Your Home Theatre Experience
A great picture on a projector deserves great sound to match, here is how to complete your setup for a true cinema experience at home:
- Connect external speakers : Plug a soundbar, Bluetooth speaker, or surround sound system into the projector’s audio output or pair it directly with your streaming device.
- Fix audio sync issues : If the sound and picture are slightly out of sync, adjust the audio delay setting in your IPTV app or in your streaming device’s audio settings.
- Darken the room : Close curtains, turn off lights, and block any ambient light sources to maximize contrast and image quality on the projected screen.
- Use a projection screen : A dedicated white screen delivers a much sharper and more uniform image than a painted wall, especially for HD and 4K content.
- Position the projector correctly : Check your projector’s throw ratio to find the ideal distance from the wall for your desired screen size.
- Set up a universal remote : Program one remote to control the projector, the streaming device, and the sound system so you can manage everything without juggling multiple remotes.
Frequently Asked Questions
Does any projector work with IPTV?
Yes, as long as it has at least one HDMI port. Just plug in a streaming device like a Fire TV Stick or Android Box and you can stream IPTV on any projector.
Do I need a 4K projector for IPTV?
No. A Full HD 1080p projector delivers excellent results for IPTV. A 4K projector is a bonus for sharper detail but is not necessary to enjoy your channels.
Can I use IPTV on a projector without Wi-Fi?
You still need an internet connection, but it does not have to be Wi-Fi. You can use an Ethernet adapter on your streaming device for a wired connection, which is actually more stable.
How do I get sound if my projector has no speakers?
Connect a soundbar or Bluetooth speaker to your streaming device or to the projector’s audio output jack. Most Fire Sticks and Android Boxes support Bluetooth audio pairing.
Can I use my phone to stream IPTV to a projector?
Yes. Use a USB-C to HDMI adapter or a Lightning to HDMI adapter to mirror your phone screen to the projector. You can also cast wirelessly using Chromecast.
What screen size can I get with IPTV on a projector?
Most projectors support screen sizes from 80 to 300 inches depending on the throw distance. Even a budget projector can produce a 100-inch image that is far larger than any TV.
Is the IPTV picture quality good on a projector?
Yes, the quality is excellent in Full HD and stunning in 4K. The image is identical to what you would see on a TV, just projected on a much bigger screen for a fully immersive experience.